
Pretensioned Morphing Matter Toolkit

Overview
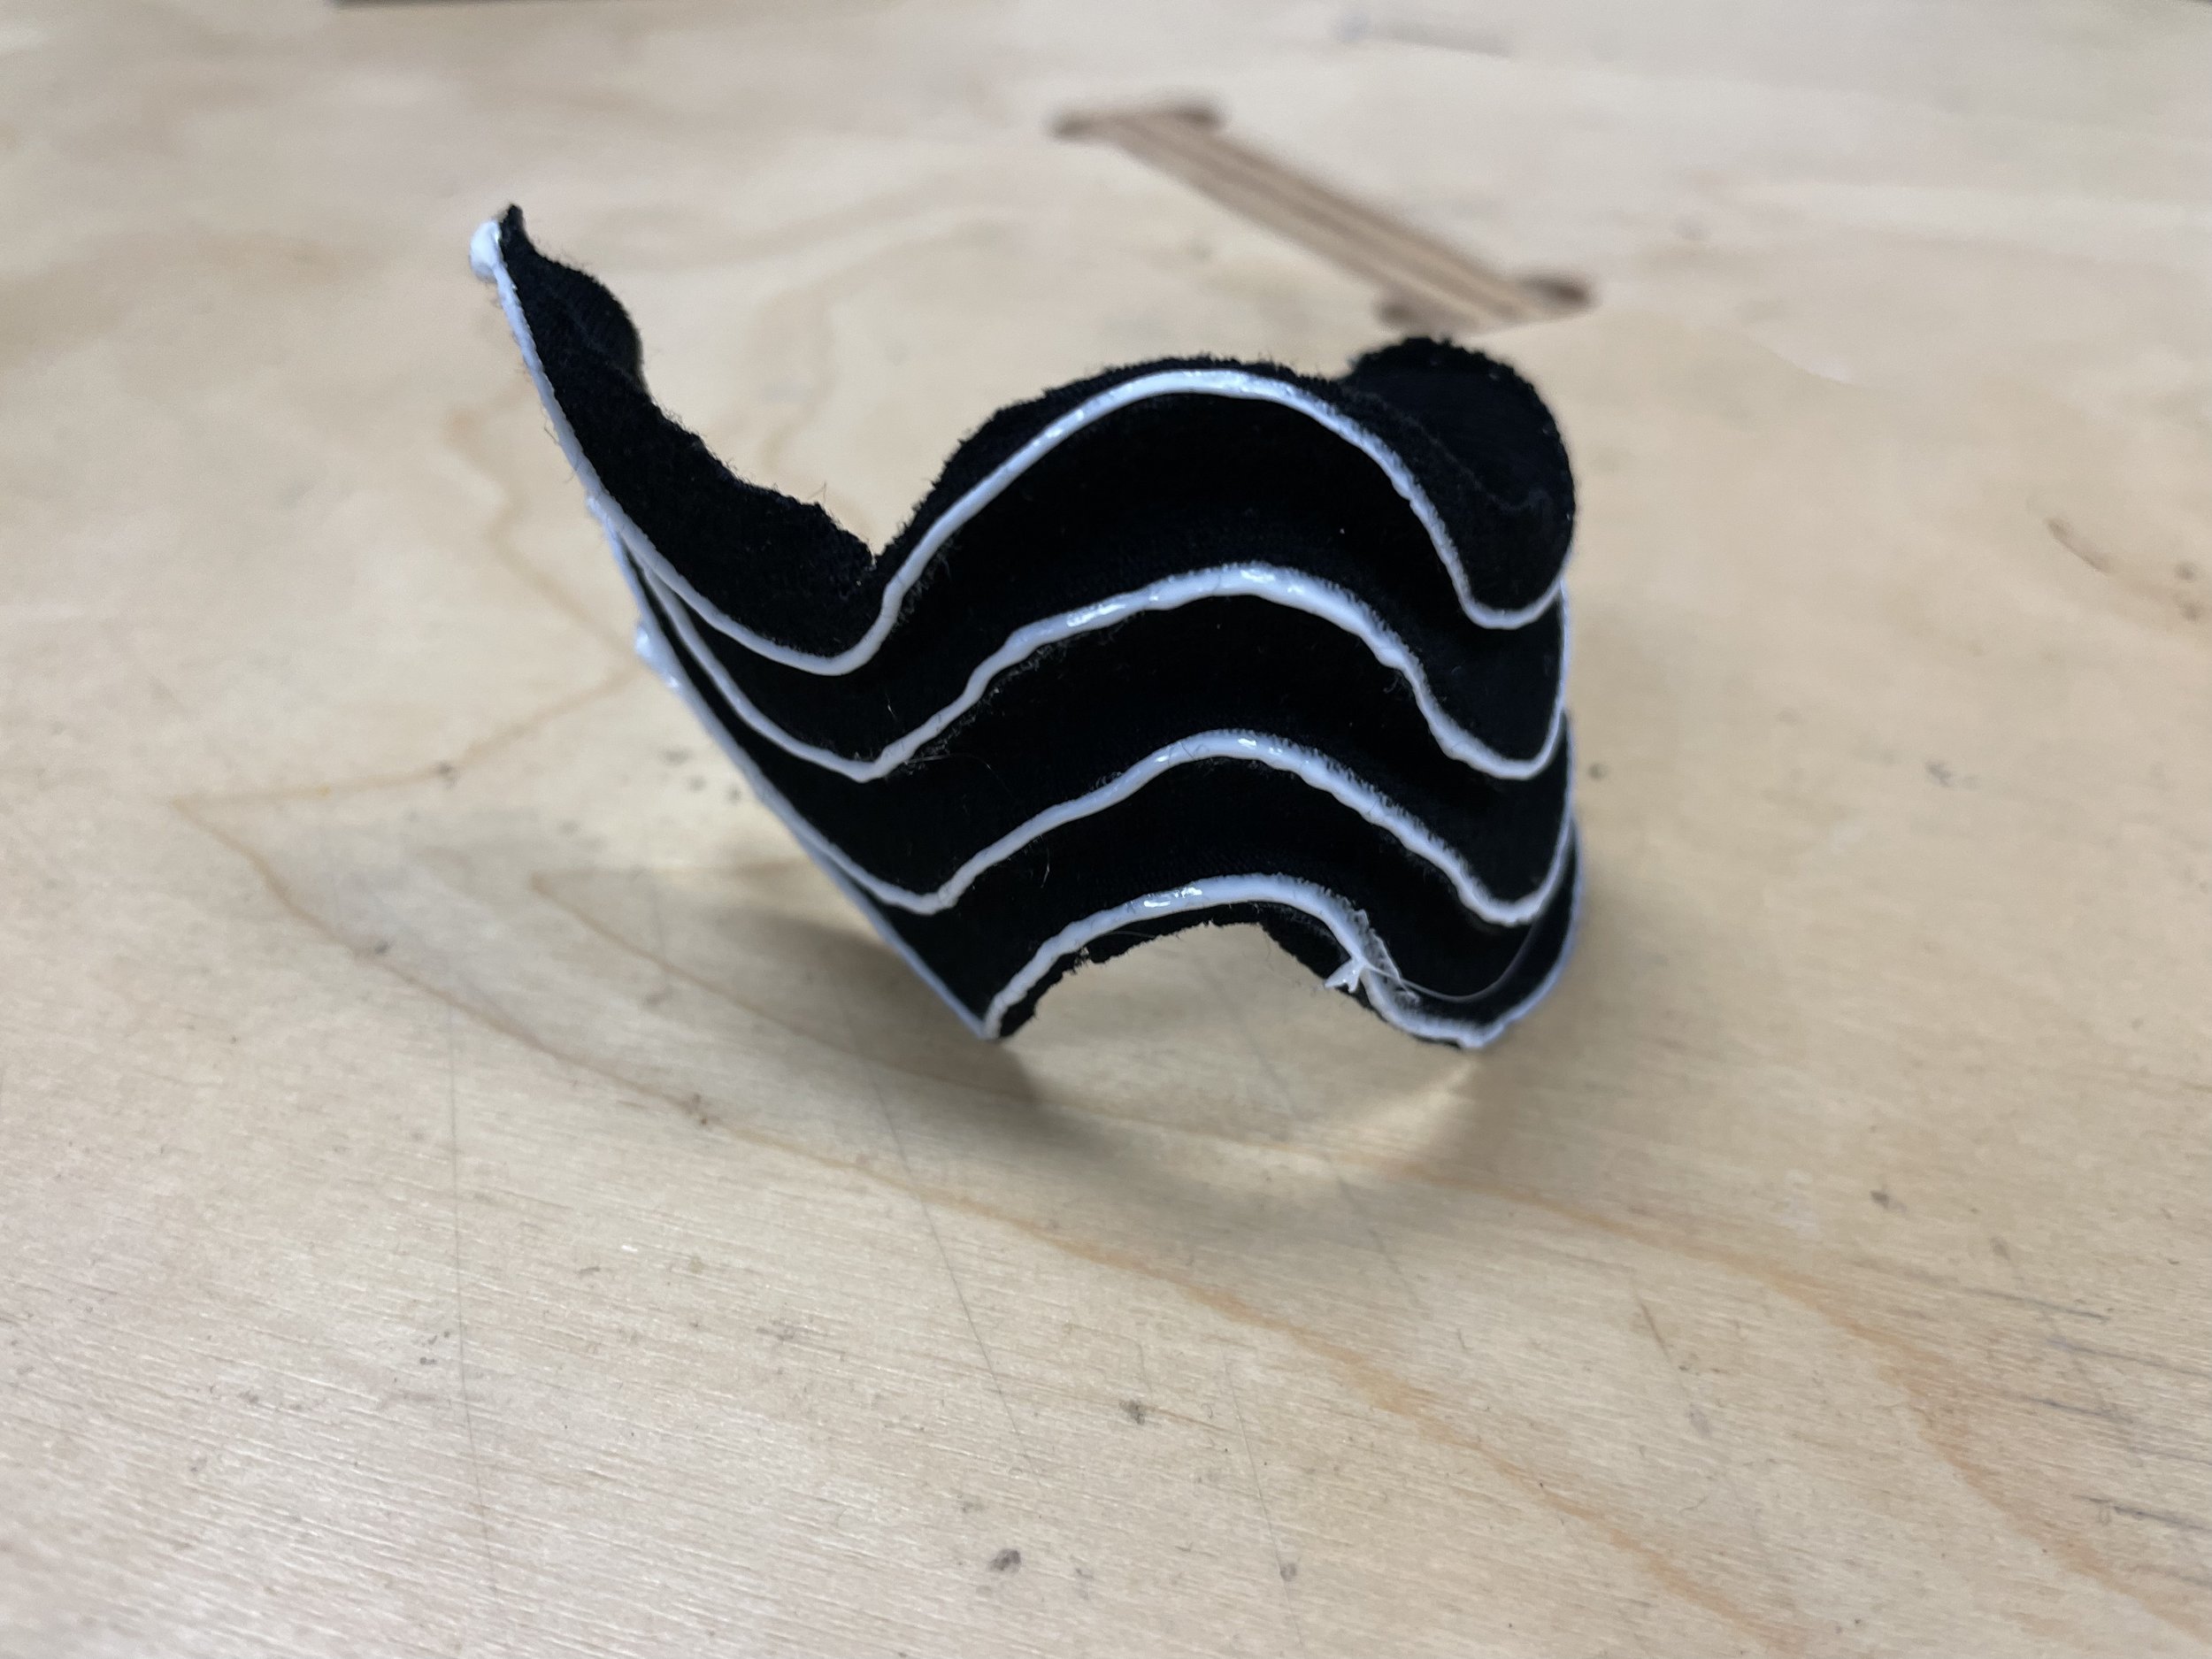
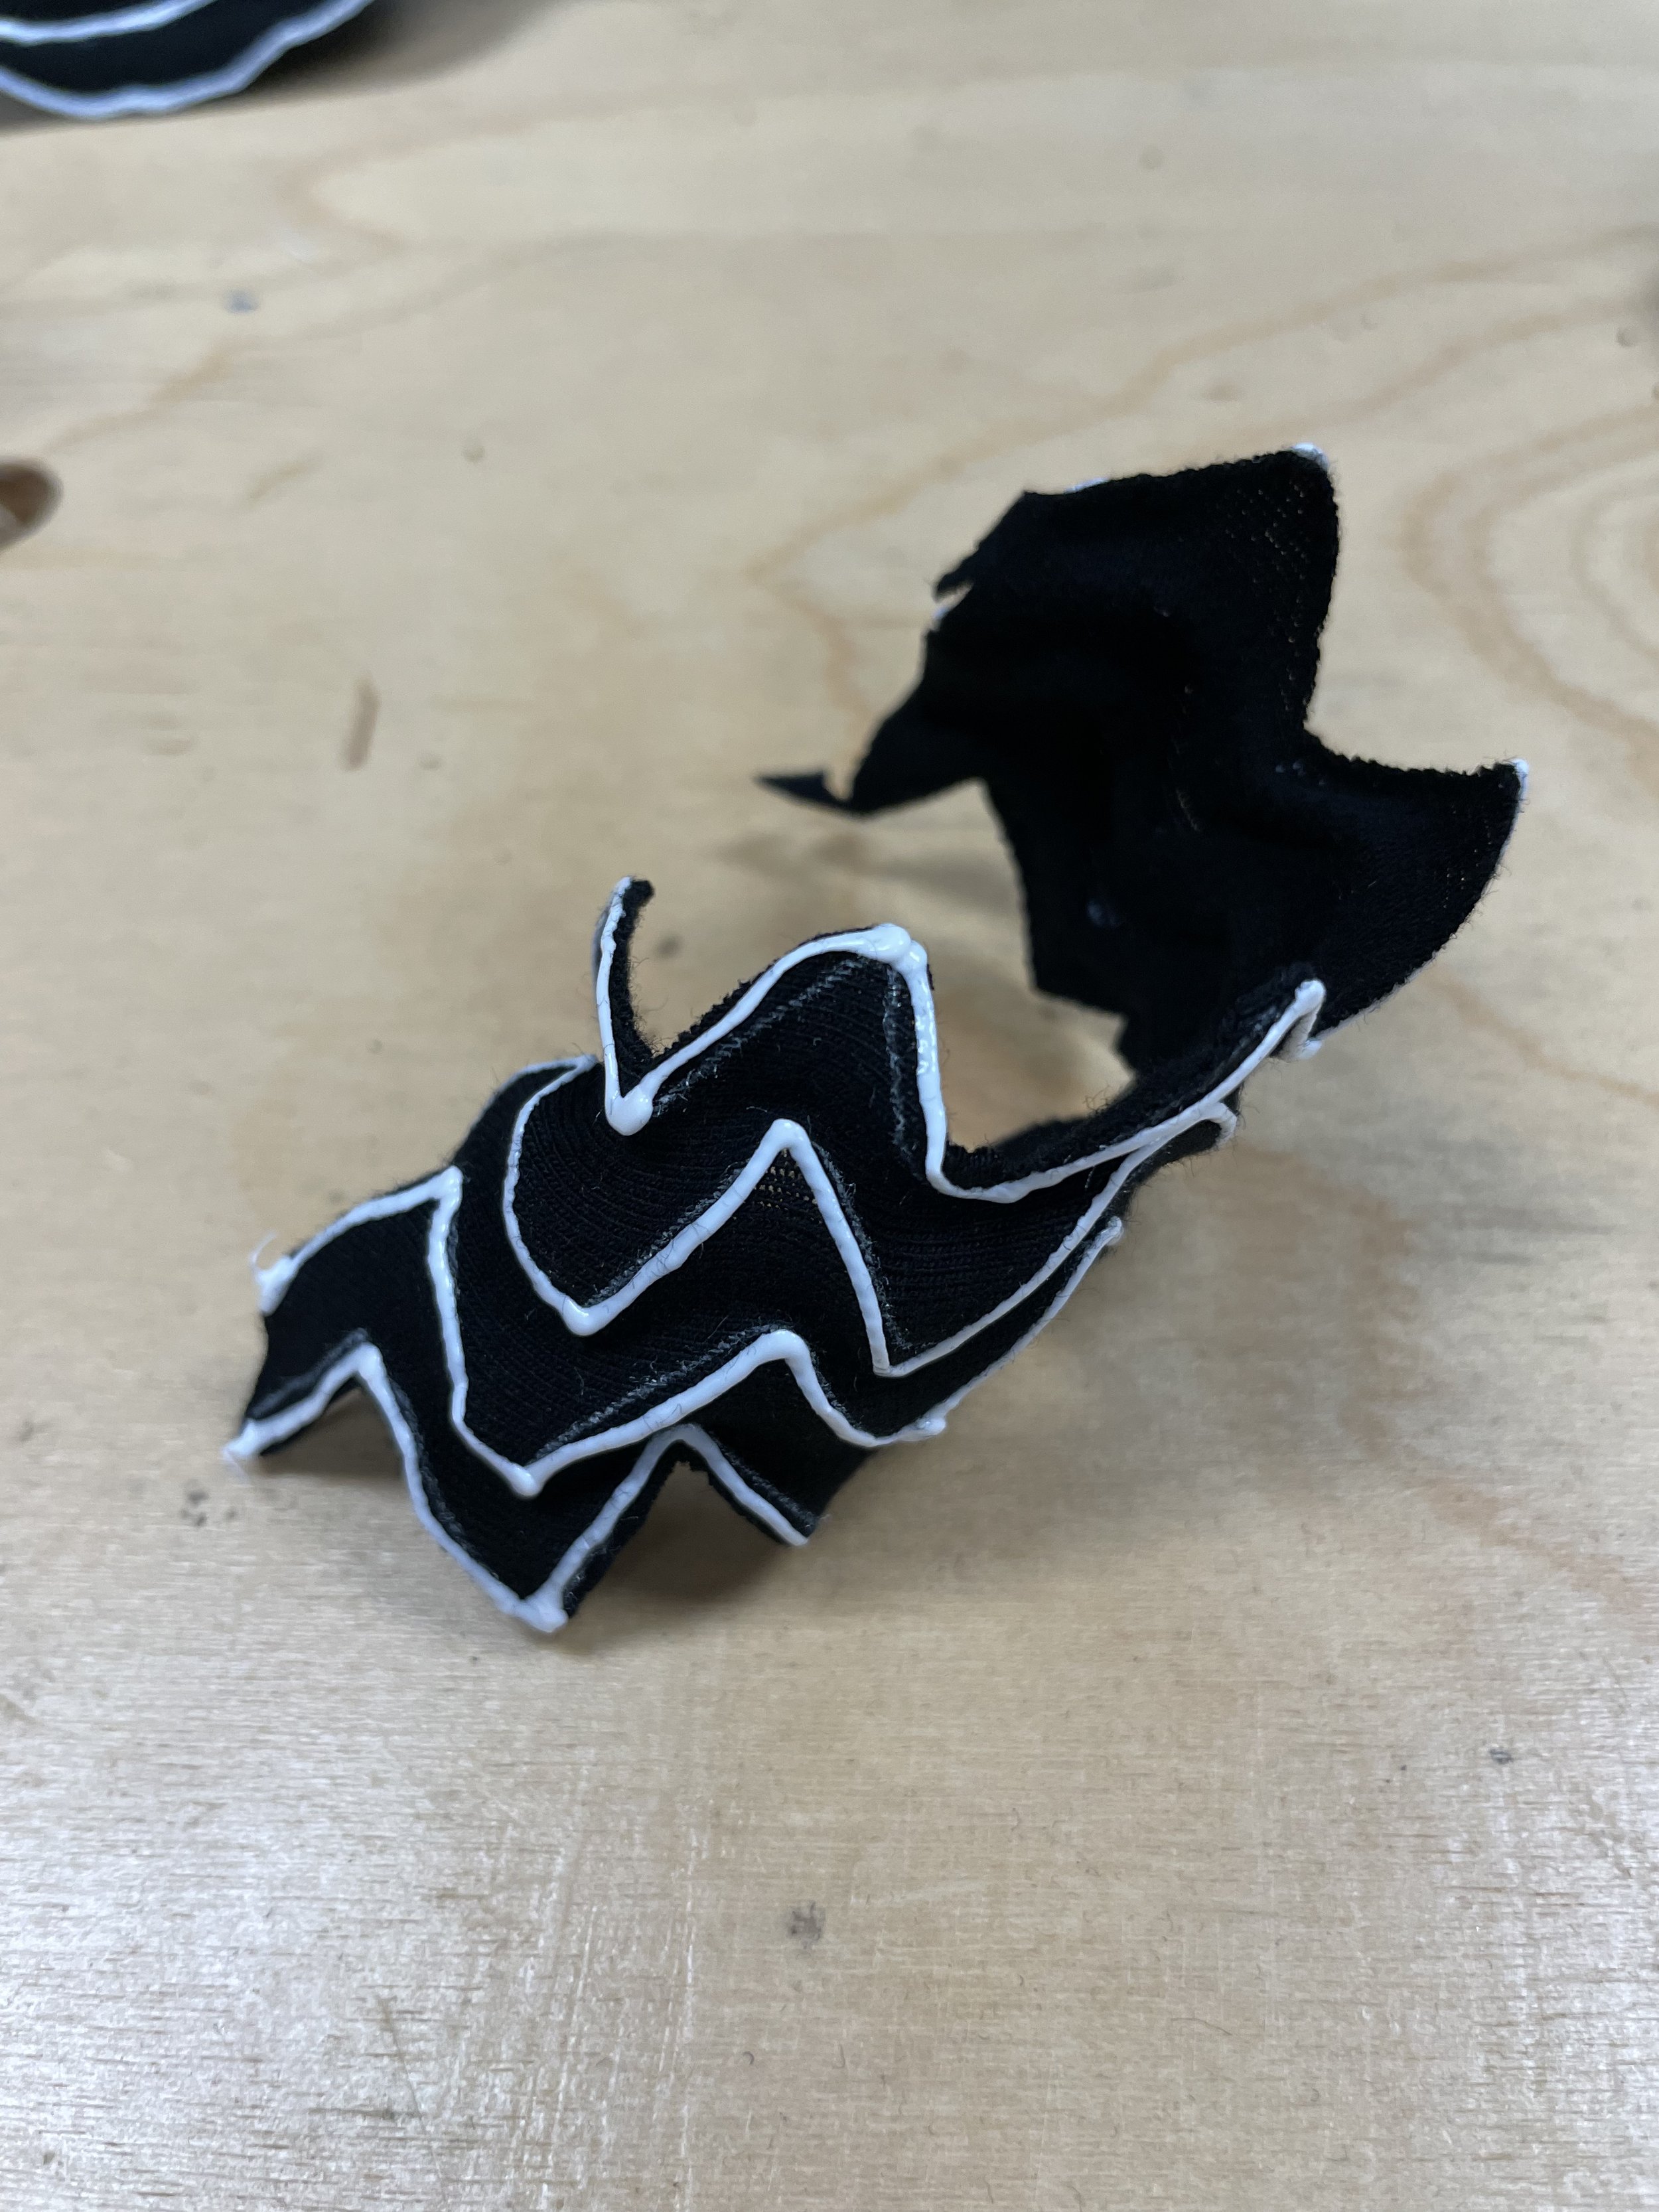
This Self-folding Origami Bracelet is designed and manufactured with a hybrid 4D printing technique. Using a 3D printer and stretched fabric, we can let a piece of flat cloth fold itself into a bracelet.
Bracelet example is courtesy of Qiushi.
We thought of this idea using computational design to leverage manual approach of folding complex origami, and here's how it works:
PLA (a common 3d print filament) is printed in a special way on both sides of a stretchy fabric that's already been stretched out. When we take it off from the 3D printer, the fabric wants to go back to its original shape, and that makes the bracelet fold itself into different shapes, like mountain and valley folds (see sectional diagrams and photos below).
And now we want to show you how it's done! In our workshop, we'll teach you how to make these self-folding origami patterns without using a computer. We'll start with easy folding and morphing techniques and then show you how to make your own designs. It's a fun way to make things, be creative and learn about some science!


Materials and Tools You Need
Toolkit development and testing are courtesy of Qiushi, Lea and Solvei
Lists:
3D Doodler
PLA Filament
Elastic Jersey (cotton / 9% spandex)
Acrylic Sheet (1/4-inch thick, 6 x 6-inch size, laser cut templates available)
Binder Clips (3/4-inch / 19mm)
Button Battery (CR2032)
Scissor
Gel Pen
Cookie Cutter
Fabrication Steps:
Step 1 - Prepare Your Pre-Stretched Canvas
💡Have your stretch board laser cut ready.
if not, find 6 x 6-inch plywood or hard board.
💡Stretch the fabric starting with 4 edges of the board.
💡Then, stretch the corners and finish up the clip positions.

Step 2 - Prepare your LED light
💡LED Diodes connected to button battery as light source.
💡Longer nib connects to +.
💡Fabric and clips for height alignment with the board corner

Step 3 - Light up the pattern
Place the light source on the table-level, close to the corner of the stretch board.
Reference pattern appears.
💡The side light bounces onto the engravings on the transparent acrylic creates clear pattern paths for easy follow along over the canvas.
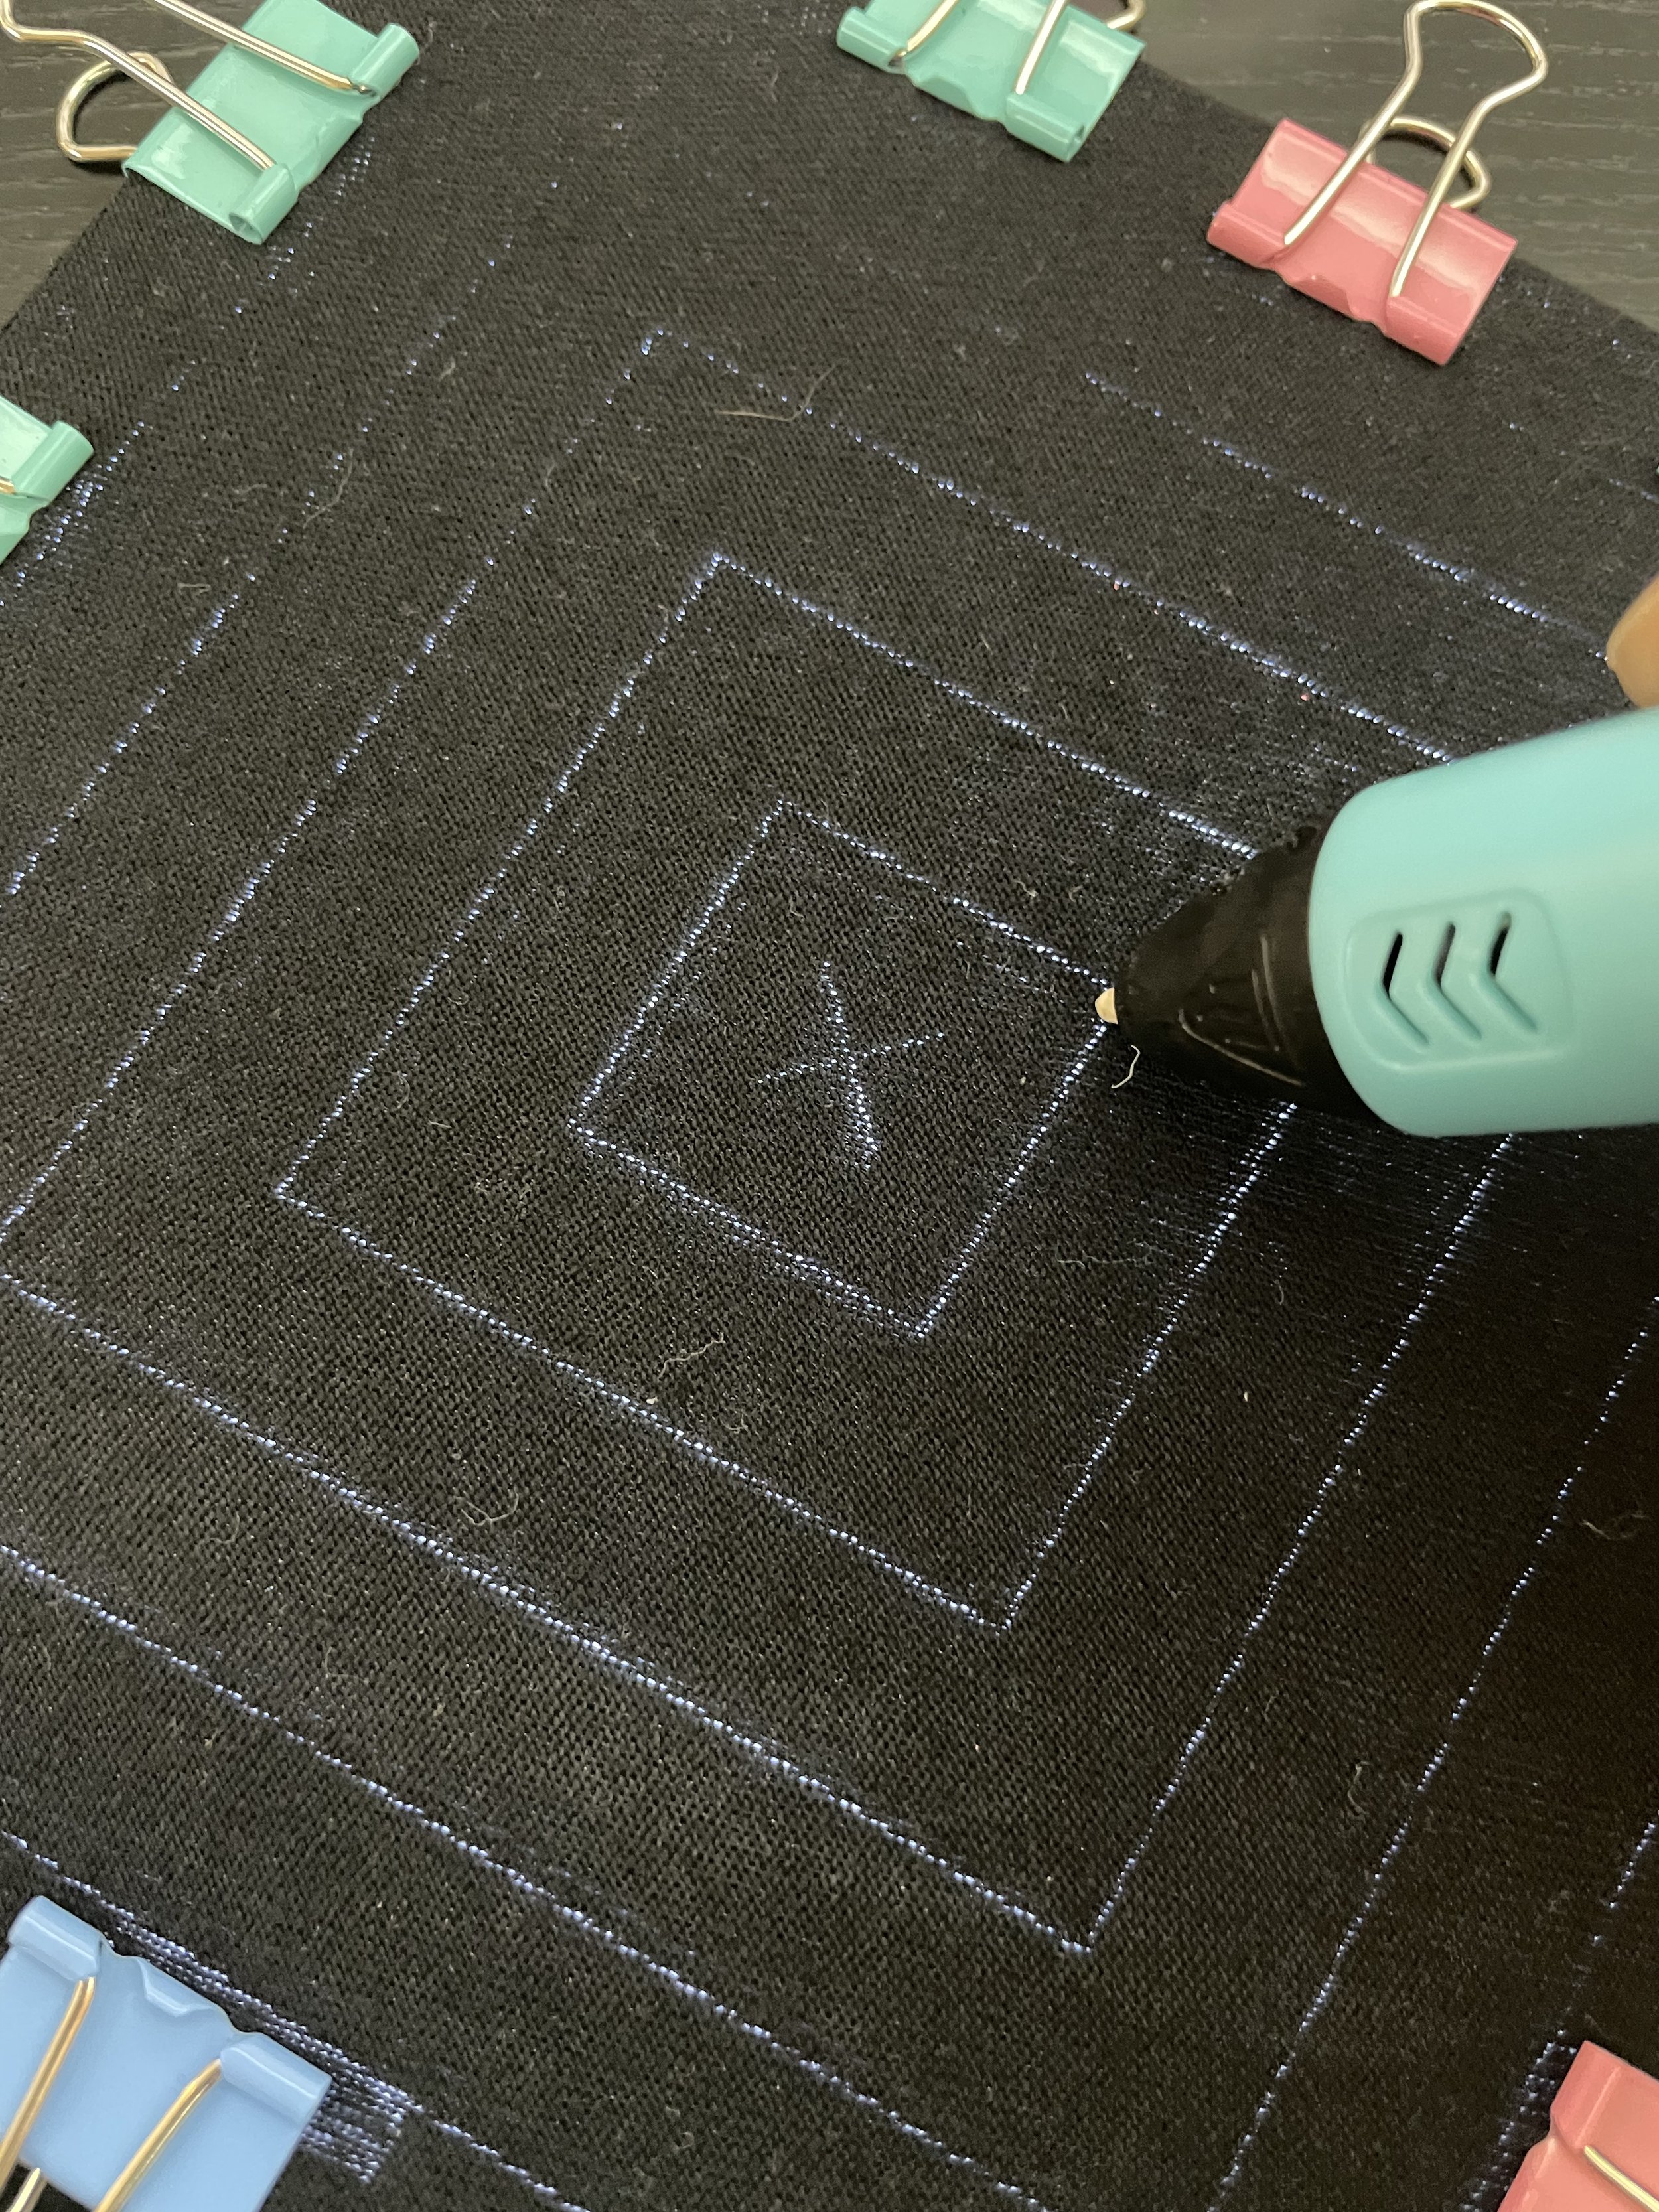
Step 4 - Start to trace over with 3D-Doodler.
💡The backlighting highlights the pre-designed patterns through the fabric to follow along.


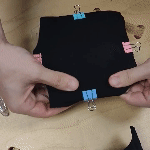
Step 5 - Release your work from the canvas.
💡Give some time to cure before release may get smoother results.

Step 6 - Trim the extra fabric with scissor.
💡This will allow the print piece to fully morph.

Step 7: Plan your own patterns and repeat the previous steps
💡Start your own form finding journey! You can use Gel Pen to plan out before printing!
Project Examples
Depending on the pattern and strategy you choose, different results occur.
(left to right: concentric squares, radial symmetrical arcs with reflections, sin wave arrays, zigzag arrays)
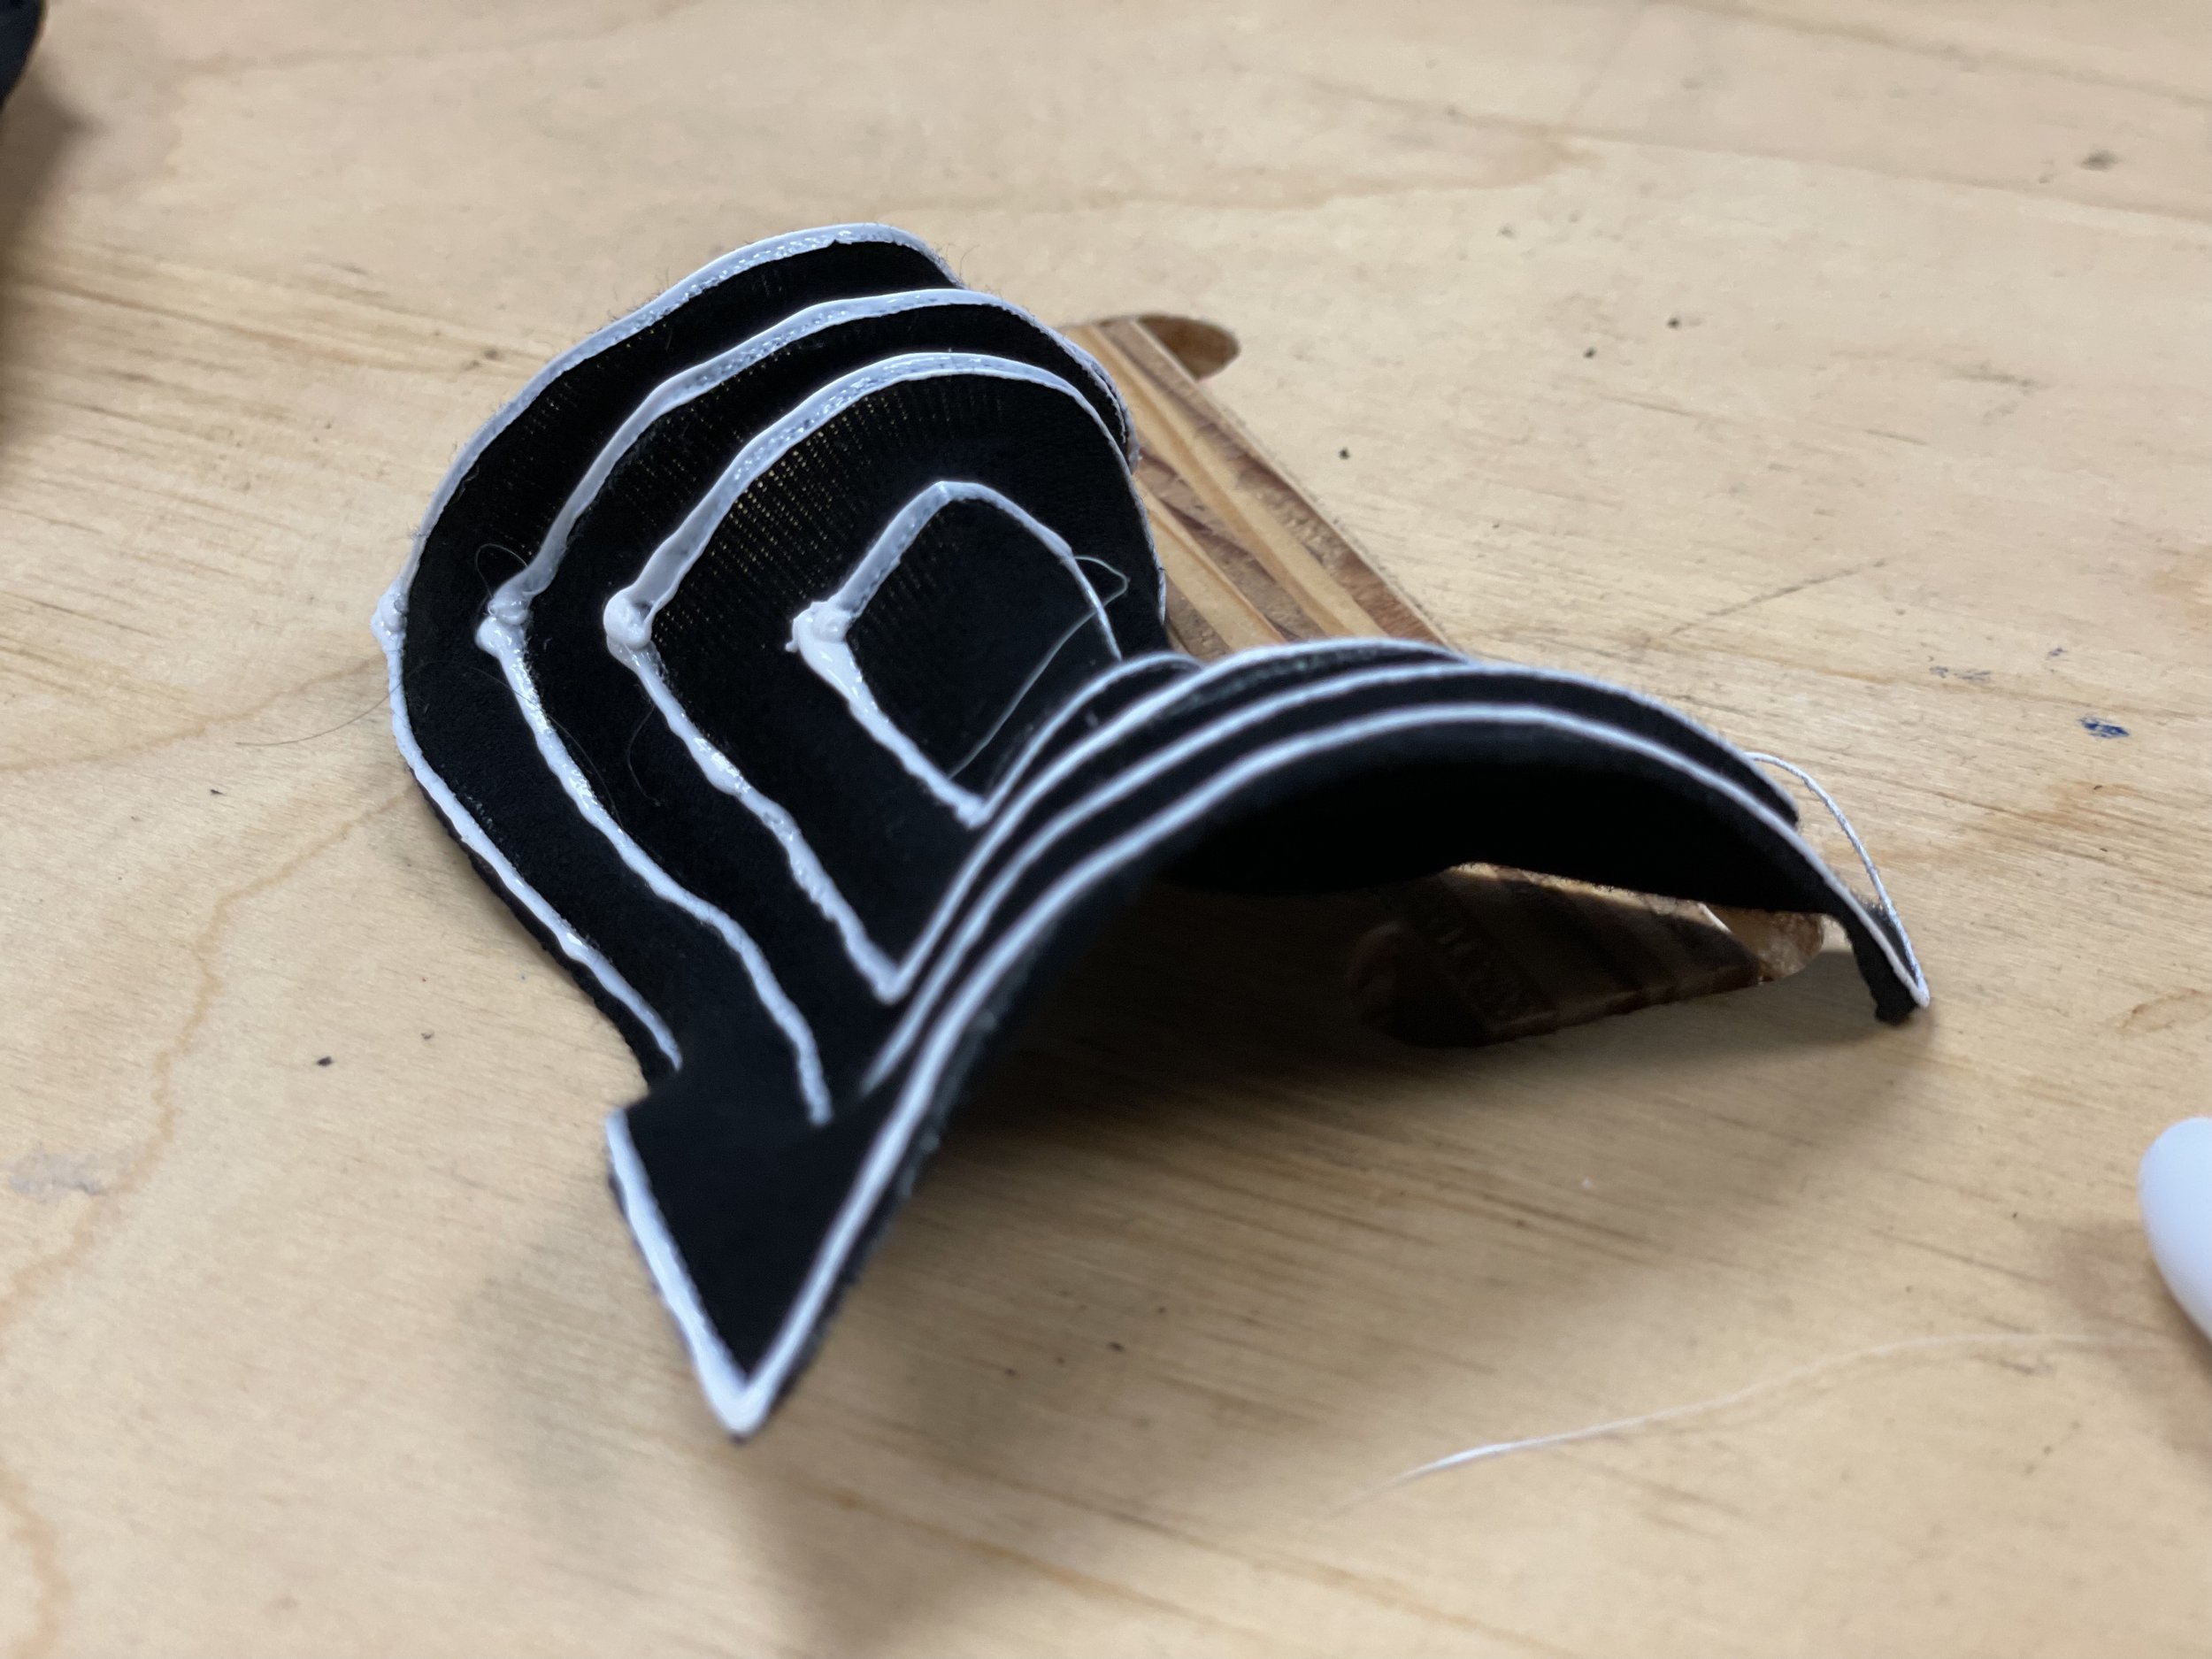
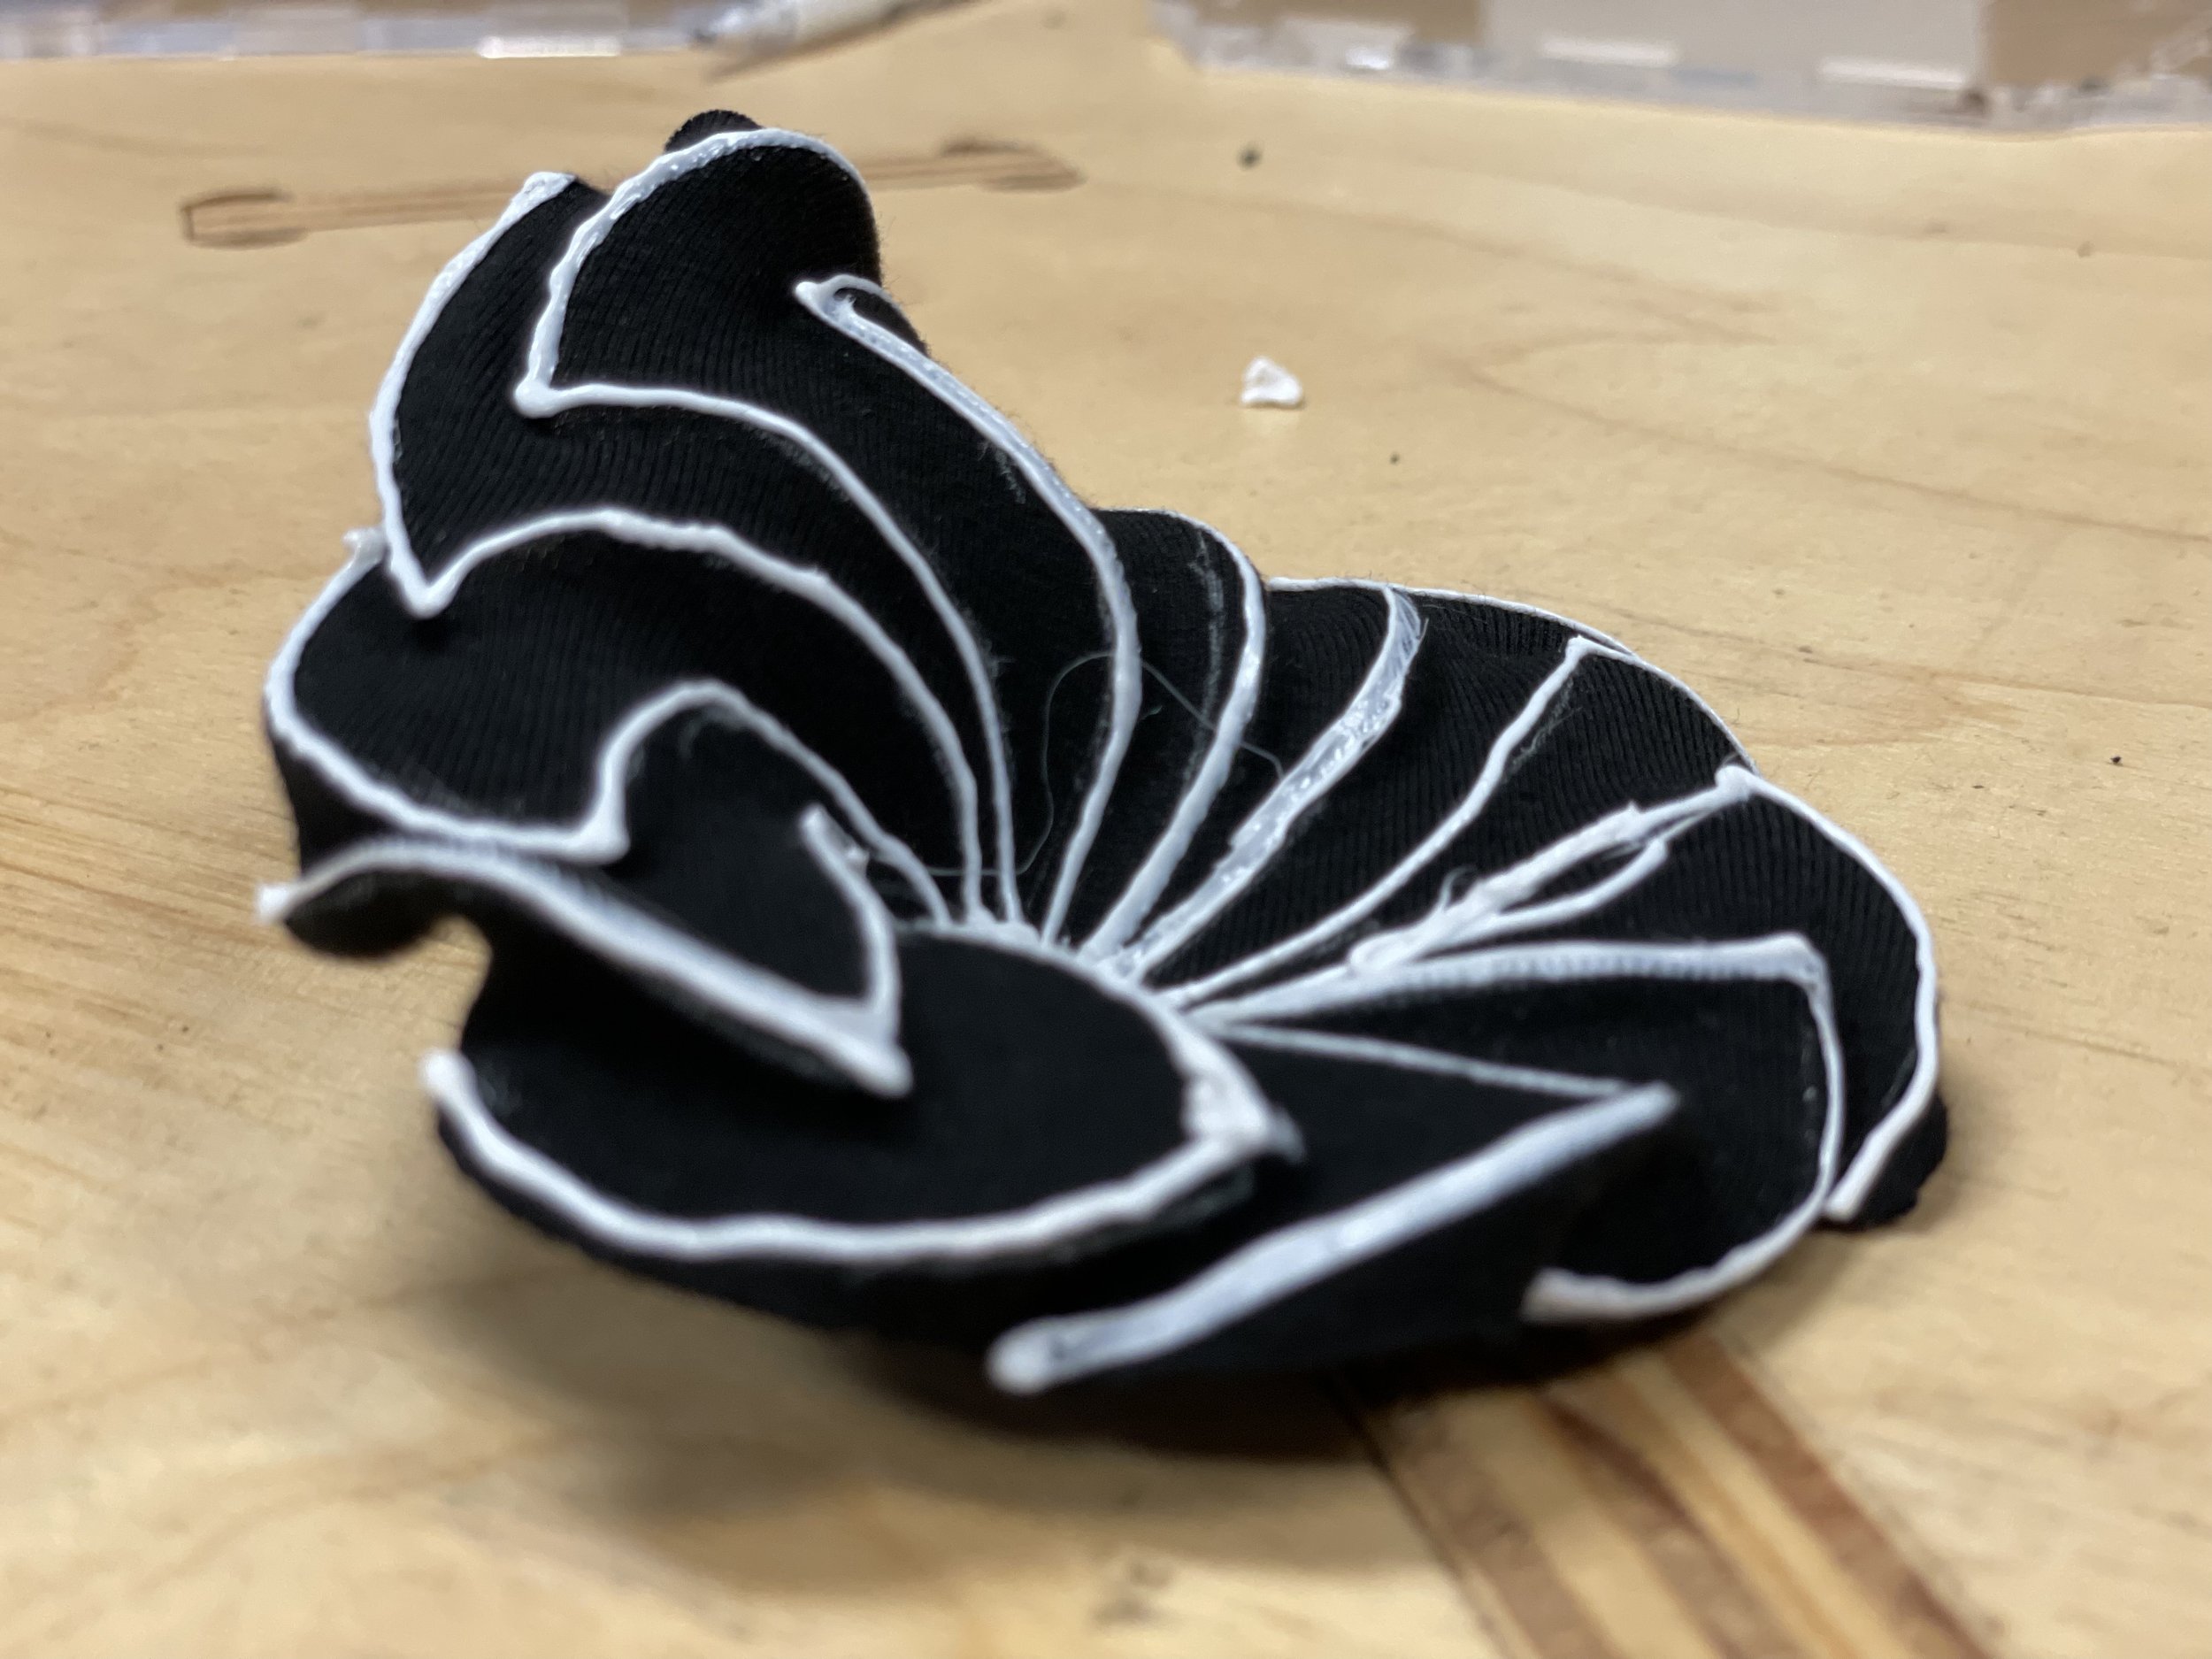
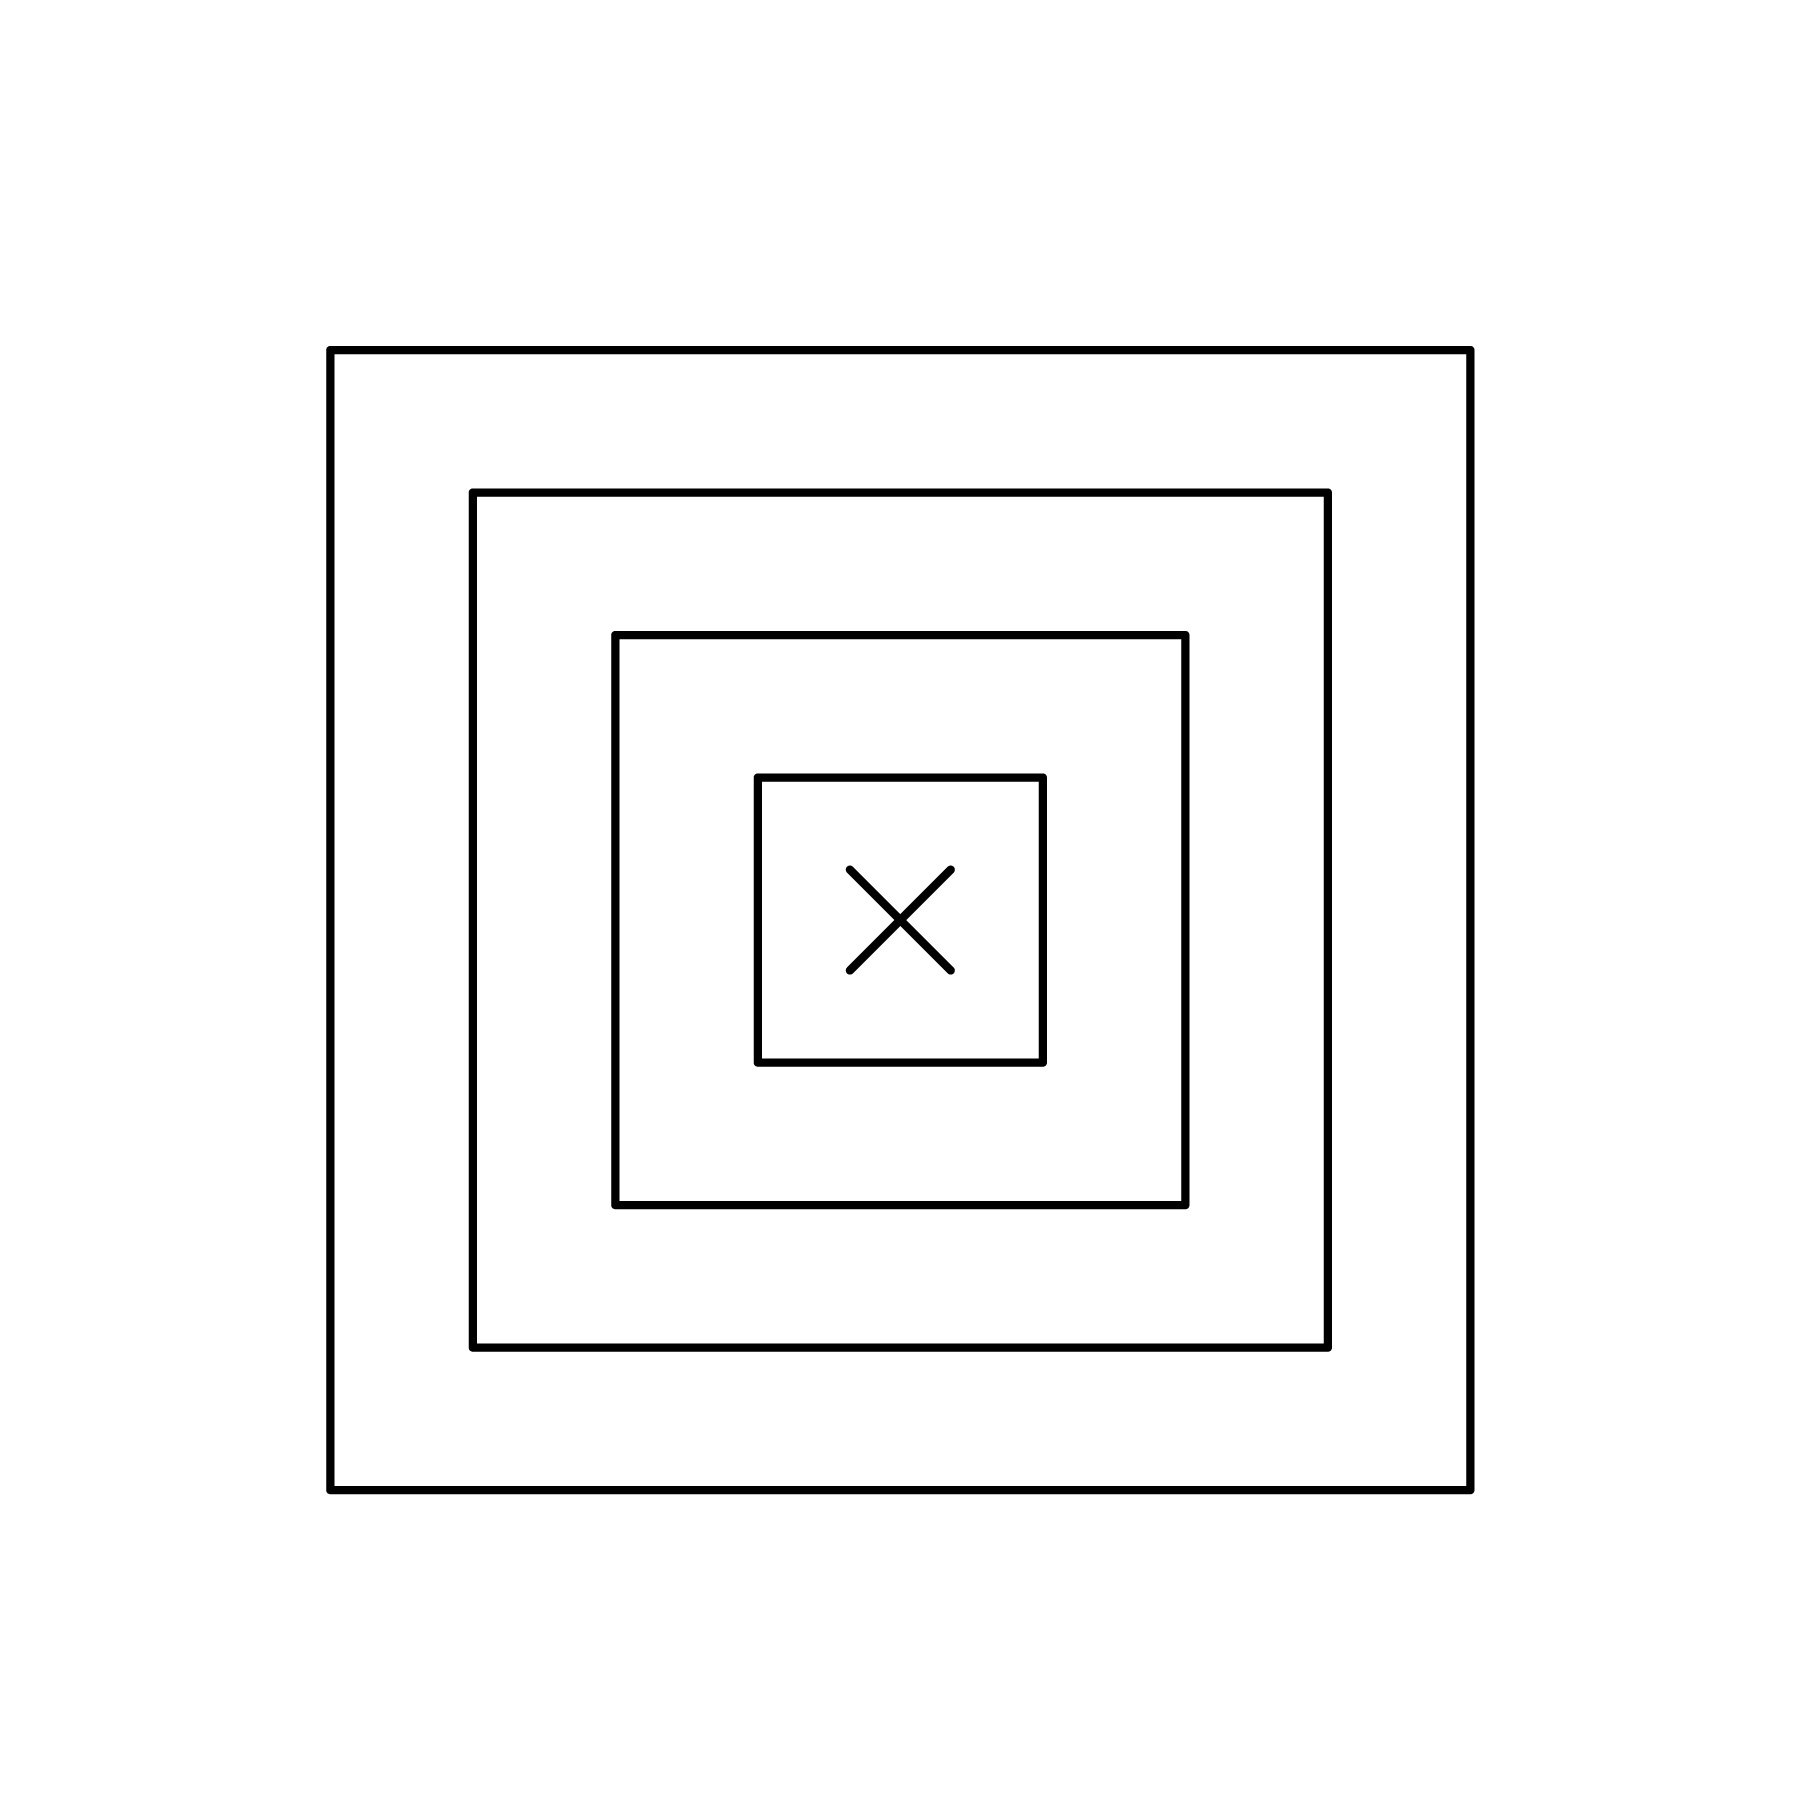
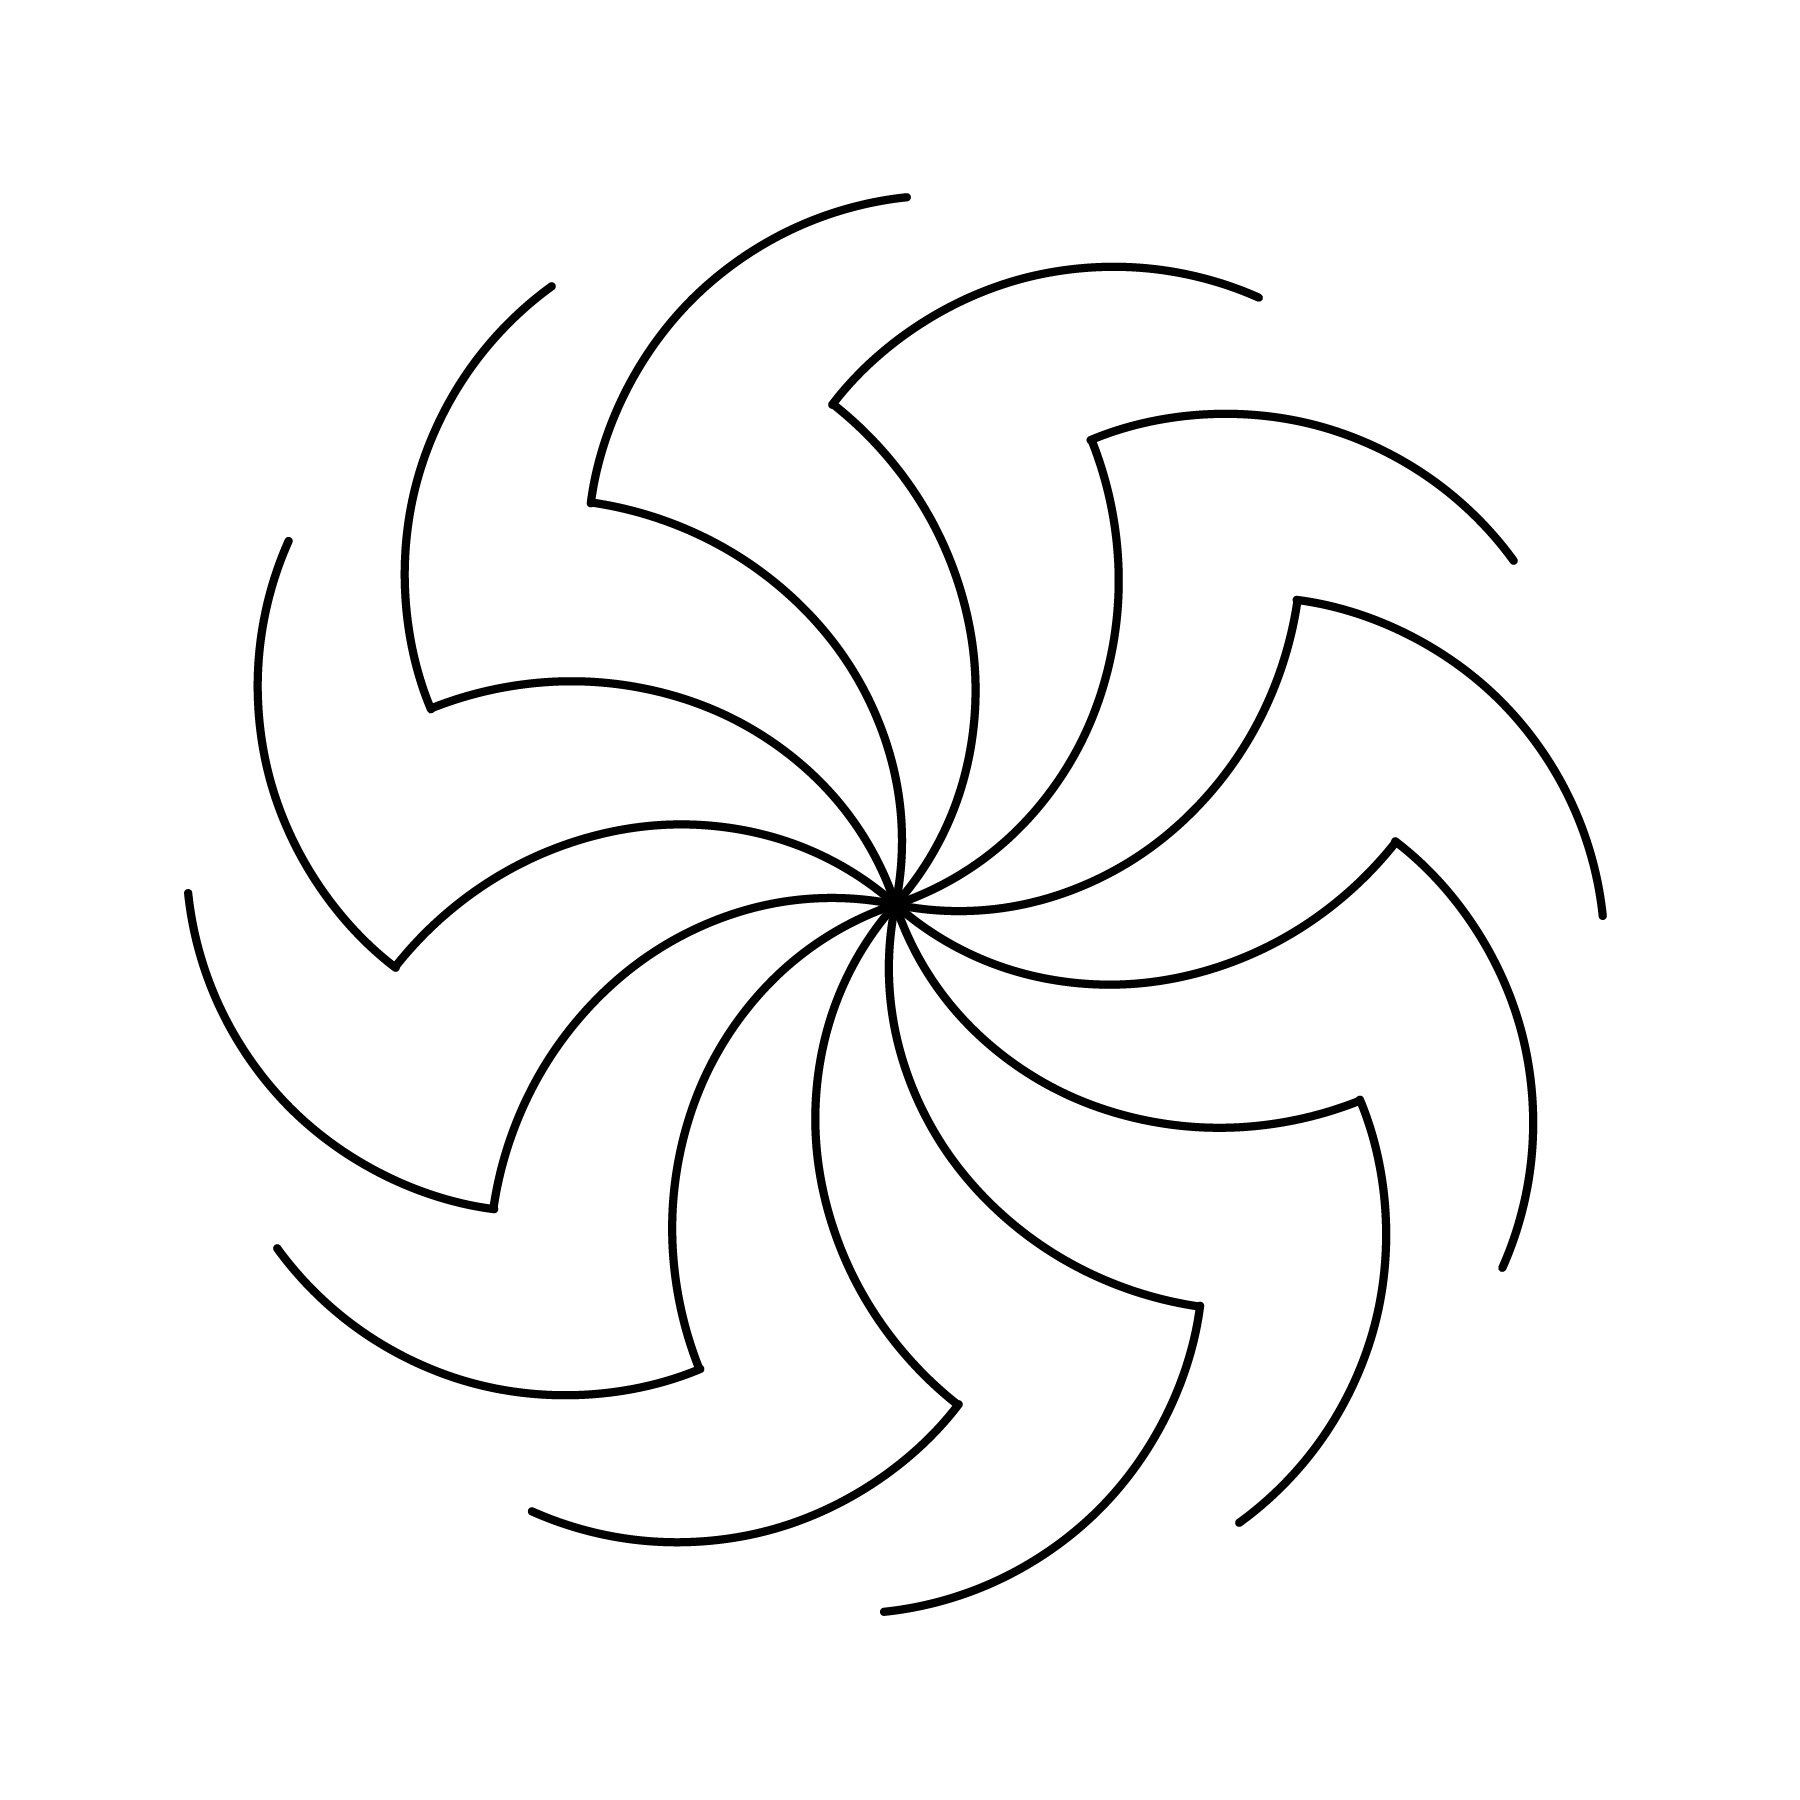
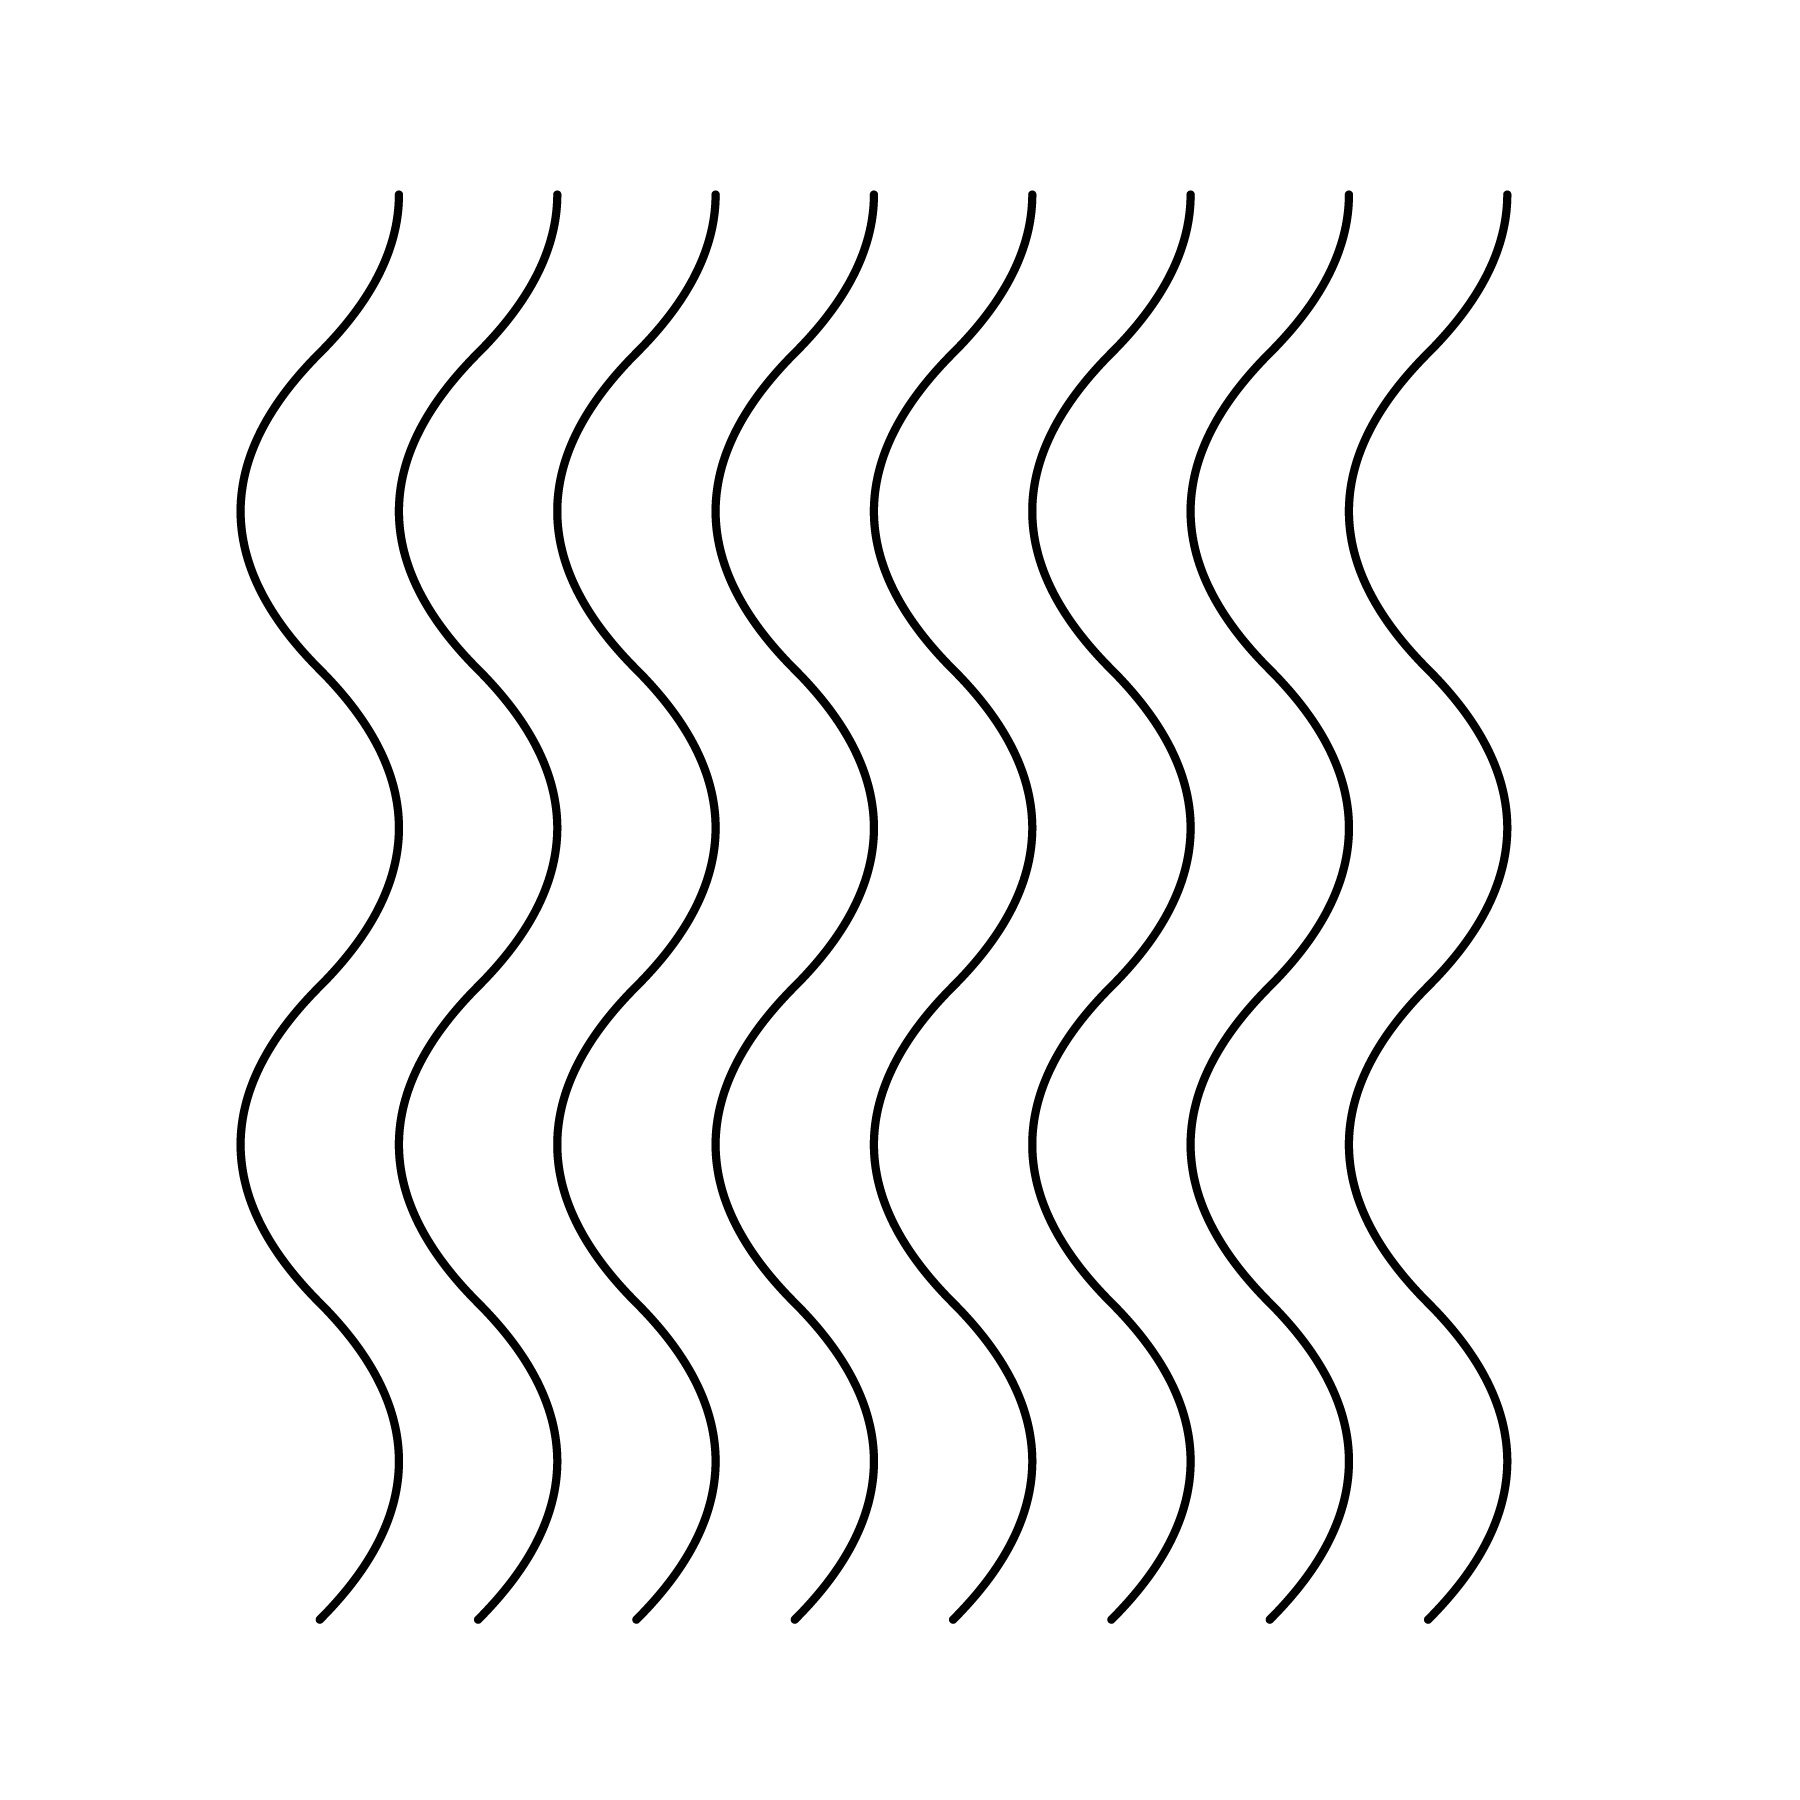
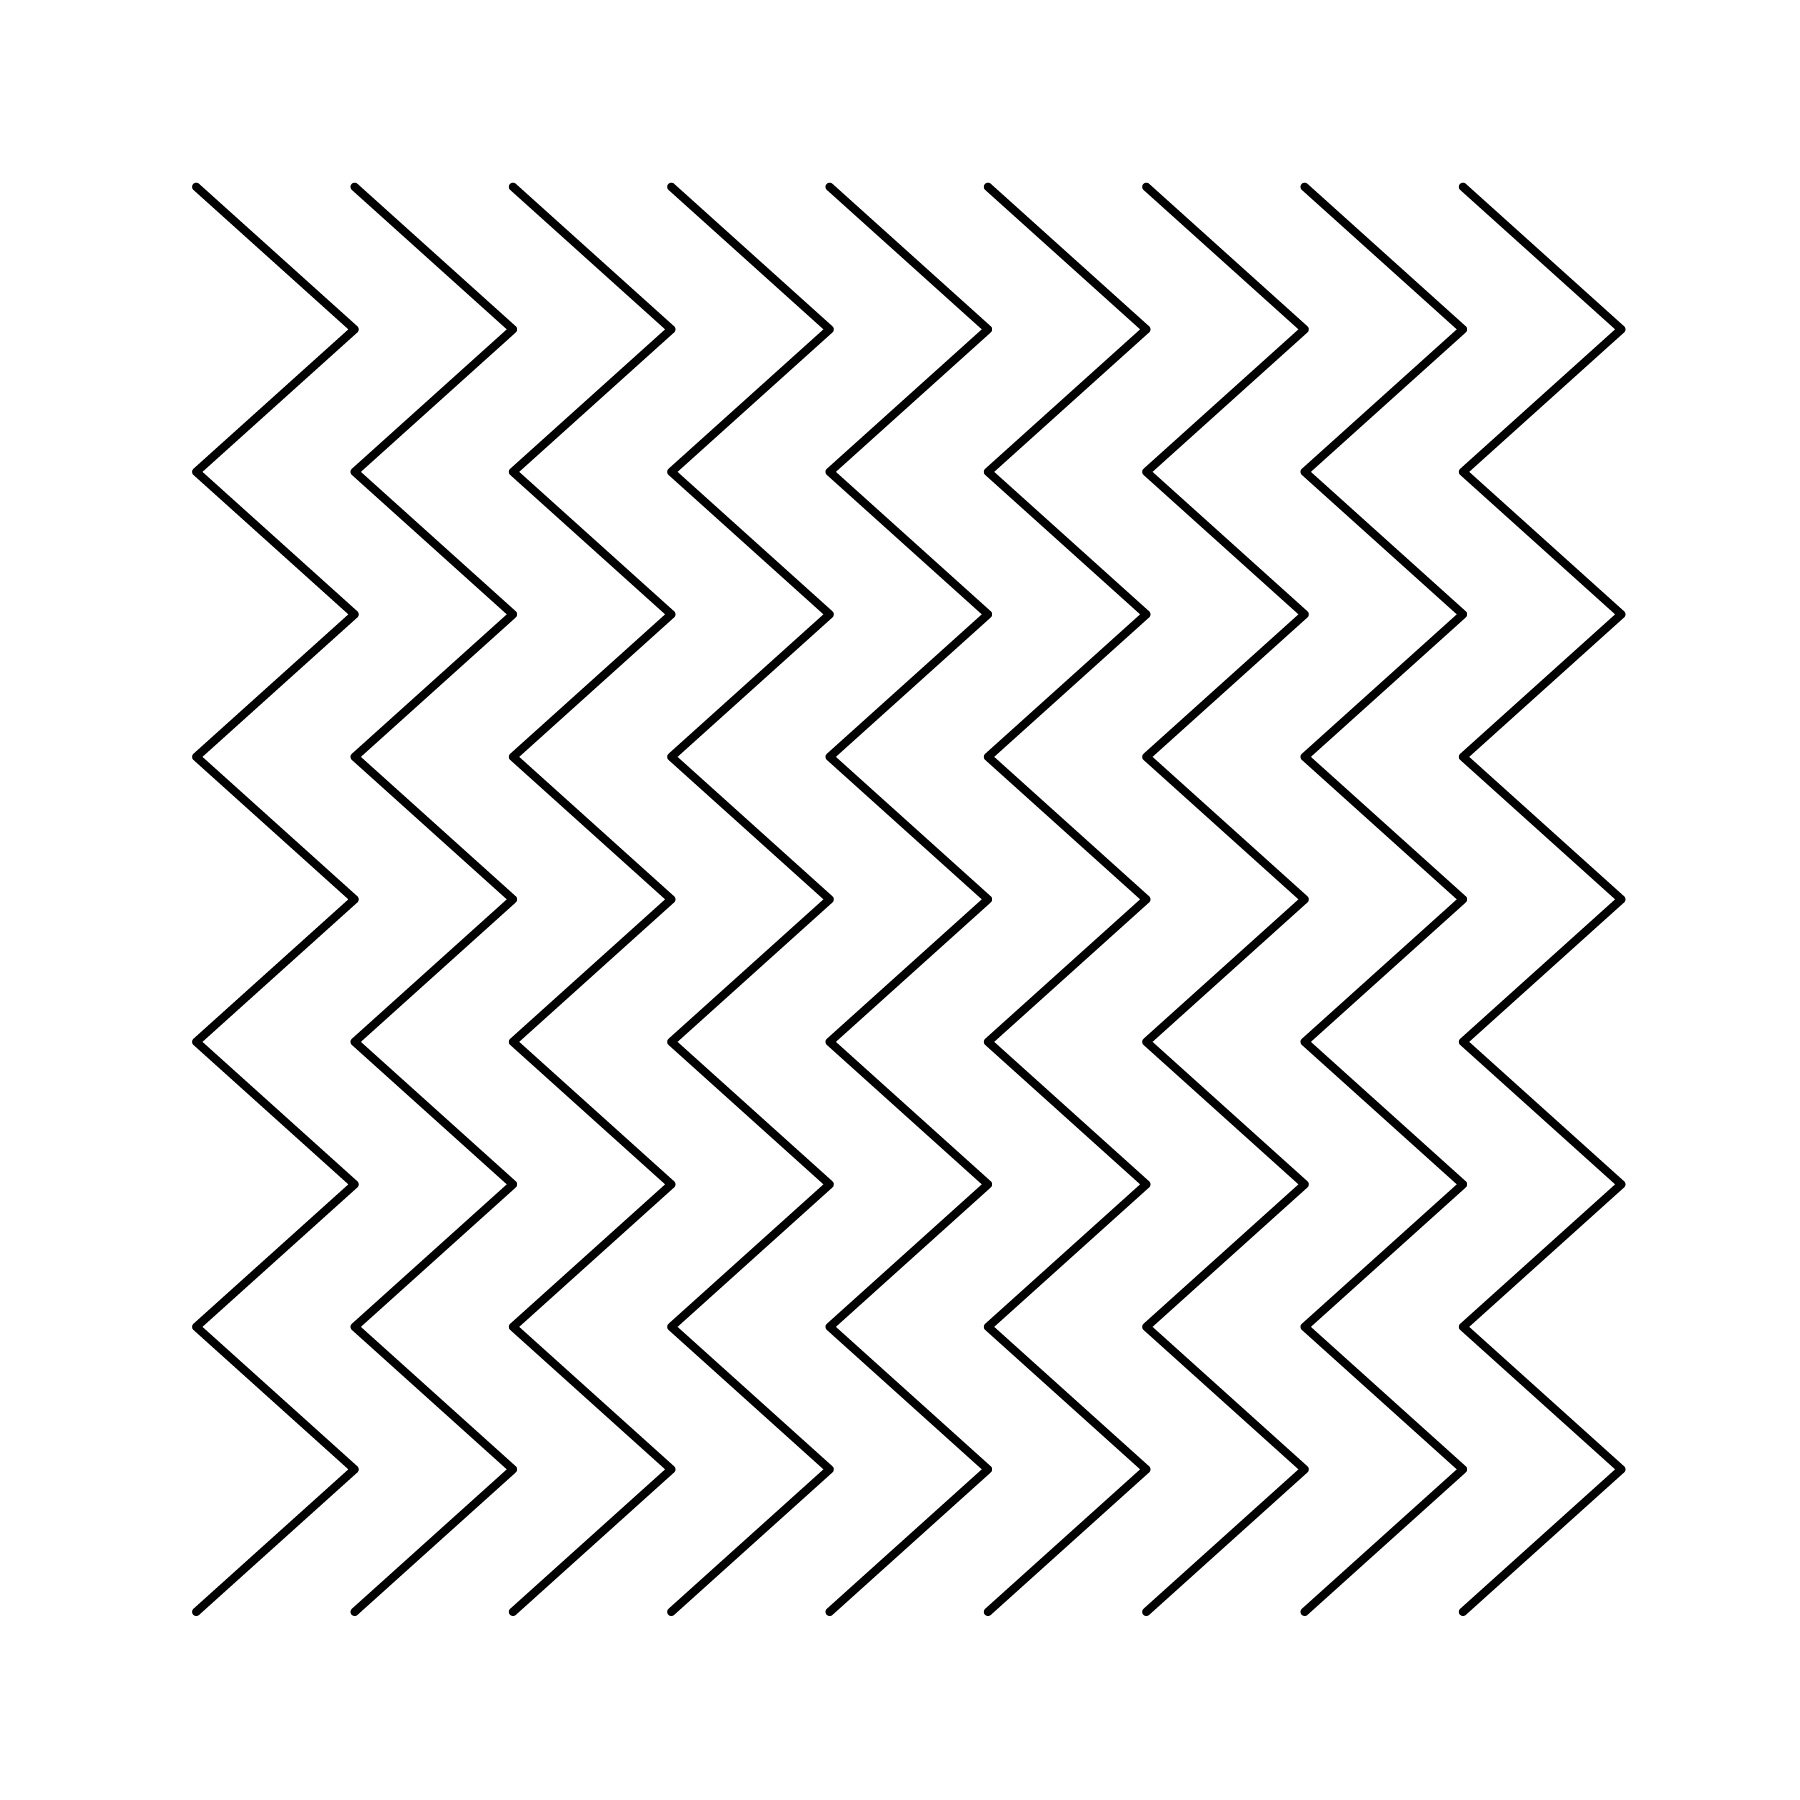
Patterns and examples are courtesy of Qiushi and Solvei.

Design Examples are courtesy of Alisha.
Troubleshooting Tips and Tricks
Creating Effective Folds By controlling the Gap with Cookie Cutter
